Pegboard? Do you guys like pegboard for your tools storage? I agree that regular pegboard hooks can be boring, plus they always fall off when you grab your tools? Well, that’s why I made some custom pegboard tools organizers with some plywood. It is easy to make, they are custom so you can adapt to any tools, they are heavy duty and they don’t fall easily. These are some examples I made but but the possibilities are endless. Be creative and have fun.
Overview
Learn how to easily install a pegboard in your shed to neatly store and display your tools. We’ll show you how to attach a solid timber frame to a brick wall. You’ll learn how to attach a pegboard to the frame. We’ll show you how to mark where each tool goes so you can easily see when tools are missing.
Tools and materials that you need
Tools:
- 3/8” Plywood ( I used high quality birch plywood)
- Screwable L-Hooks
- Wood glue
Materials:
- Saw ( Table saw is the best, but can be made with a skilsaw.)
- Drill ( To drill holes for L-Hooks)
- Clamps
- Your hands ^_^
Steps to make Pegboard tools organizer
Step 1: Cutting the Plywood


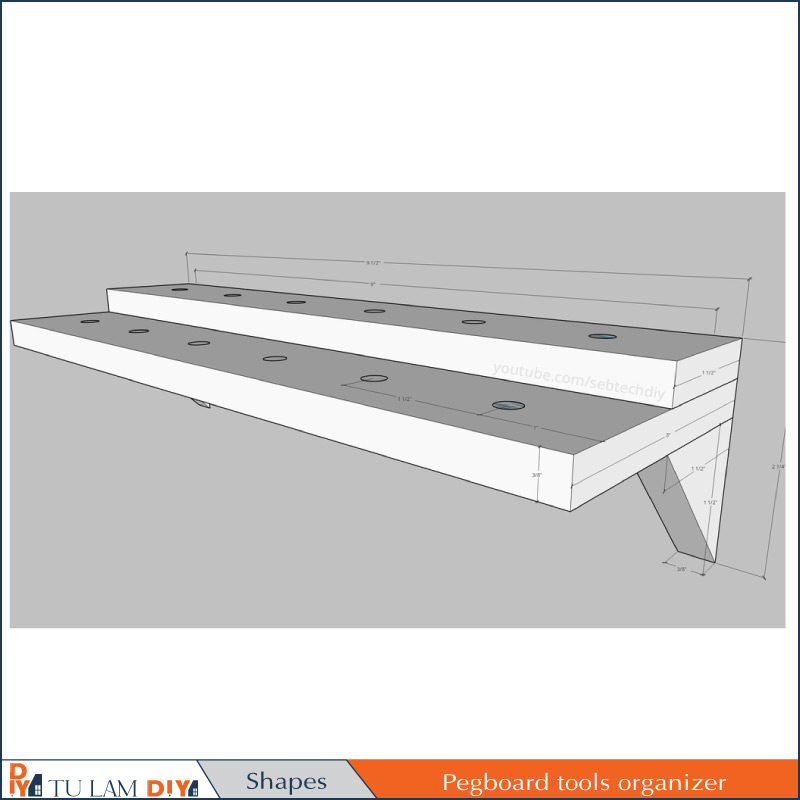
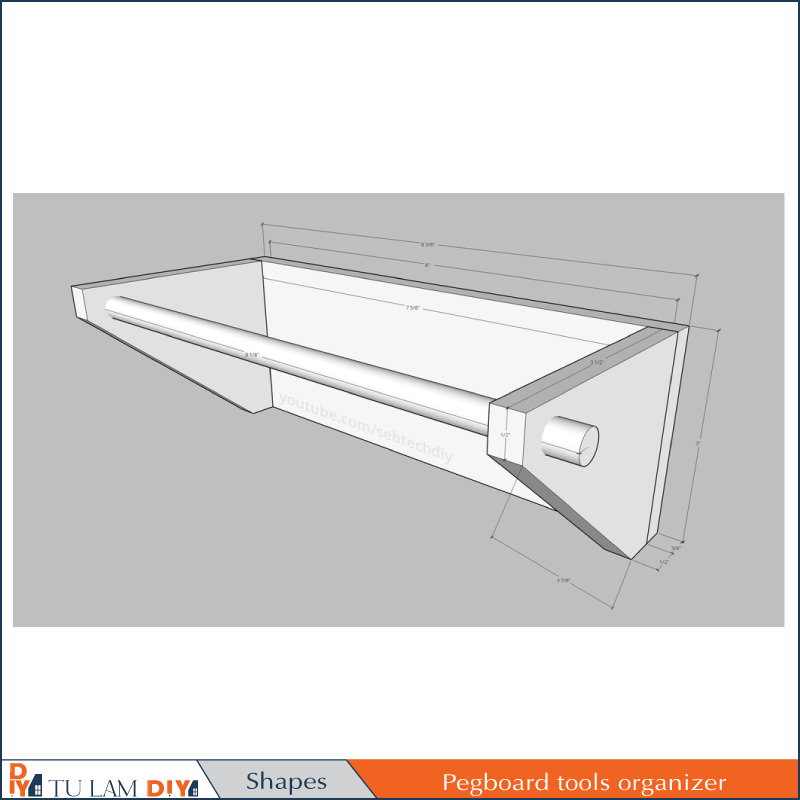
Alright, so the first step is to cut the plywood to the right size. I made these organizer for my tools, you can draw your own designs or check the pictures included here, I put all the measurements for each pieces. All the plywood used in this project is 3/8” thick.
Step 2: Pliers Organizer


This custom pliers organizer is for my 3 channel locks pliers. They fit nicely in their respective slot and are always easily reachable when I need them.
Step 3: Screwdriver Organizer

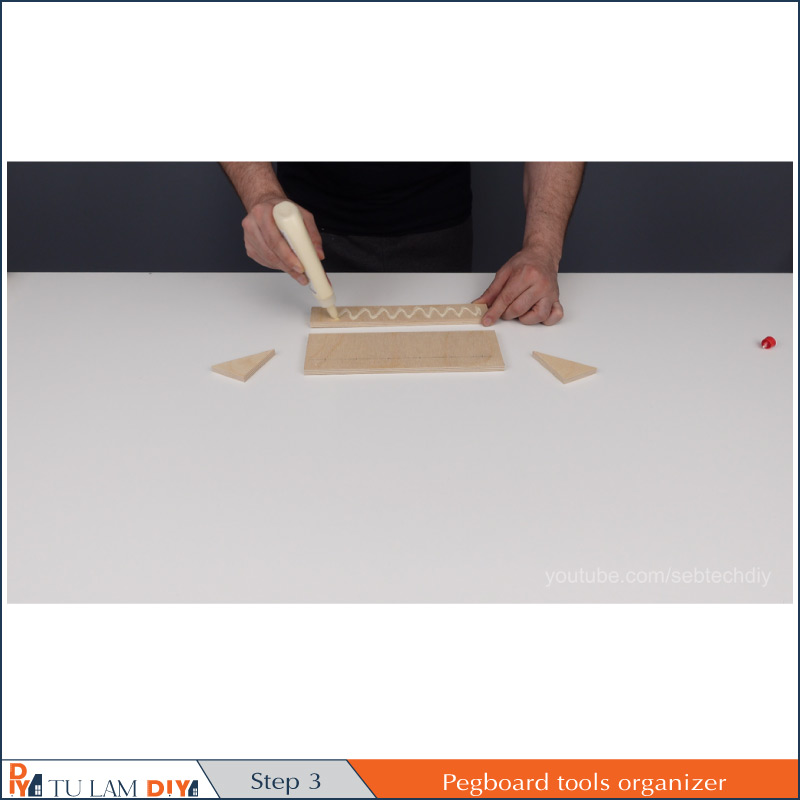


This simple screwdriver organizer is easy to make, just drill some holes, add some supports, glue everything together and you’re done!
Step 4: Tape Organizer


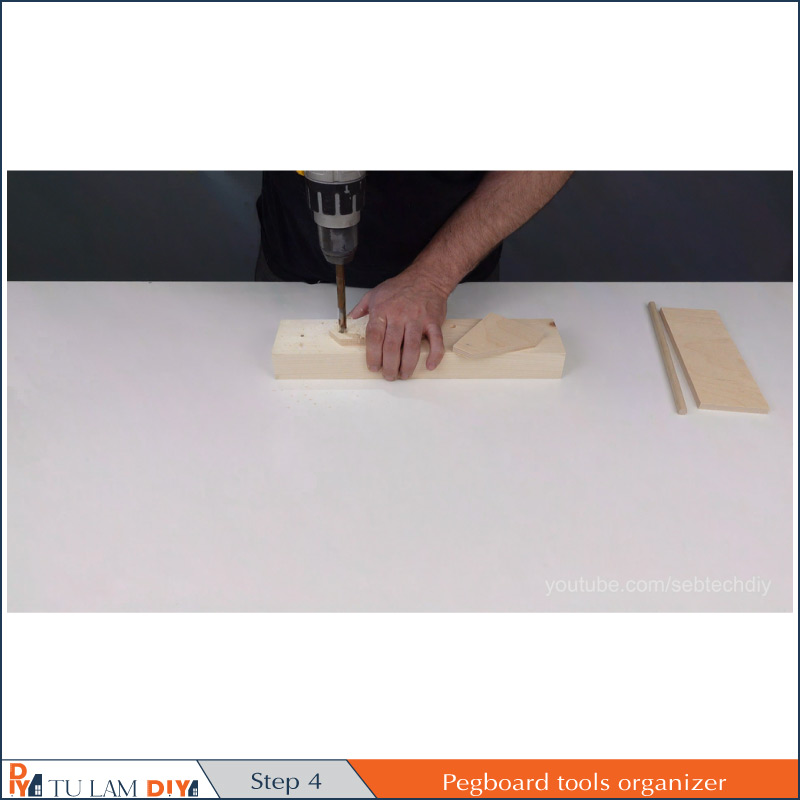


Simply made, it’s an easy way to keep your tape organized. 2 sides supports and a 3/8 rod and voila!
Step 5: Pencil, Rules, Markers Etc Organizer
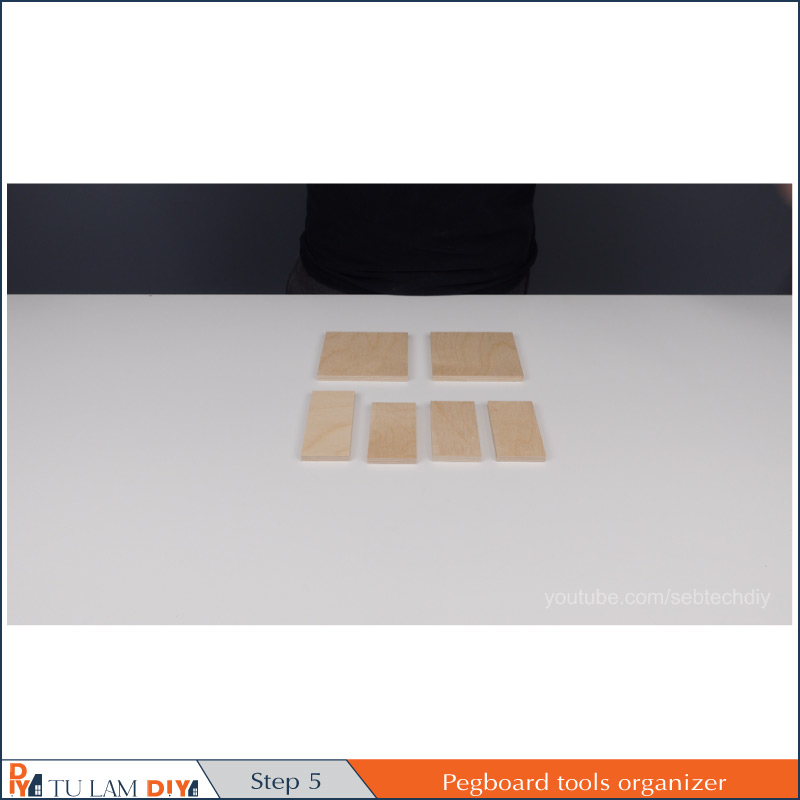
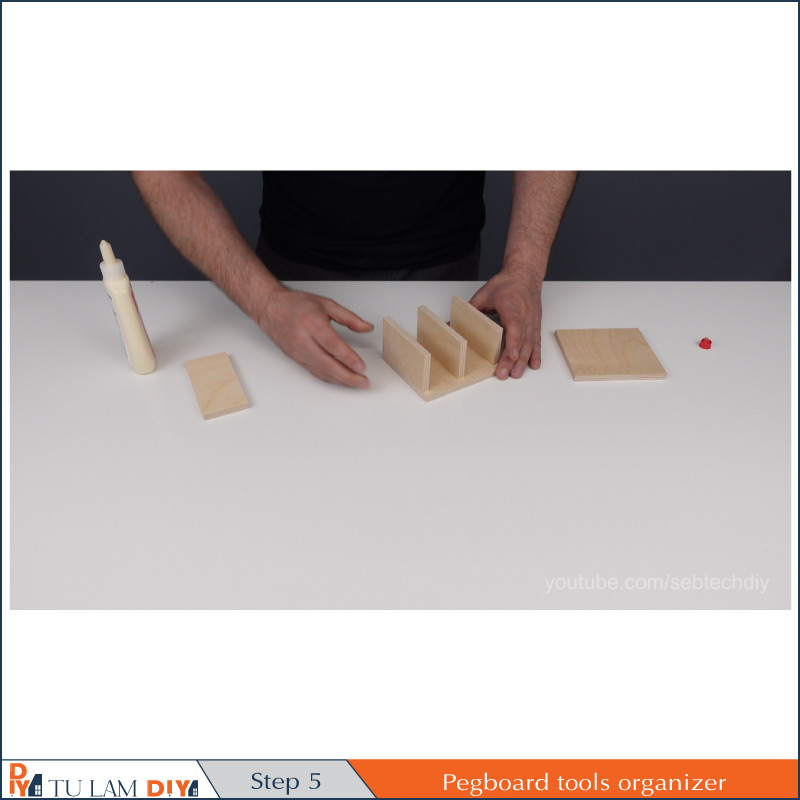

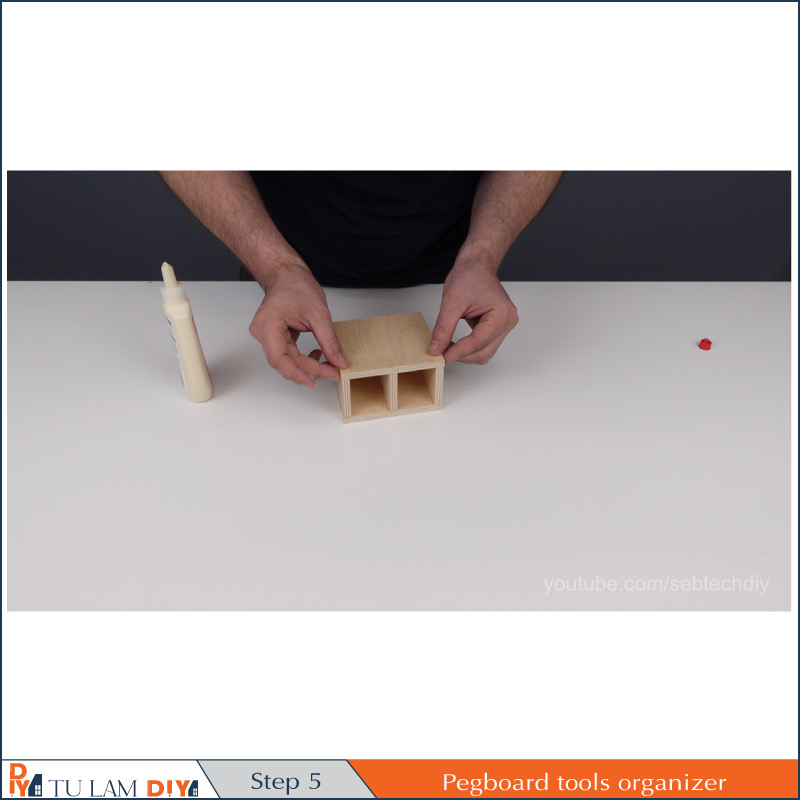
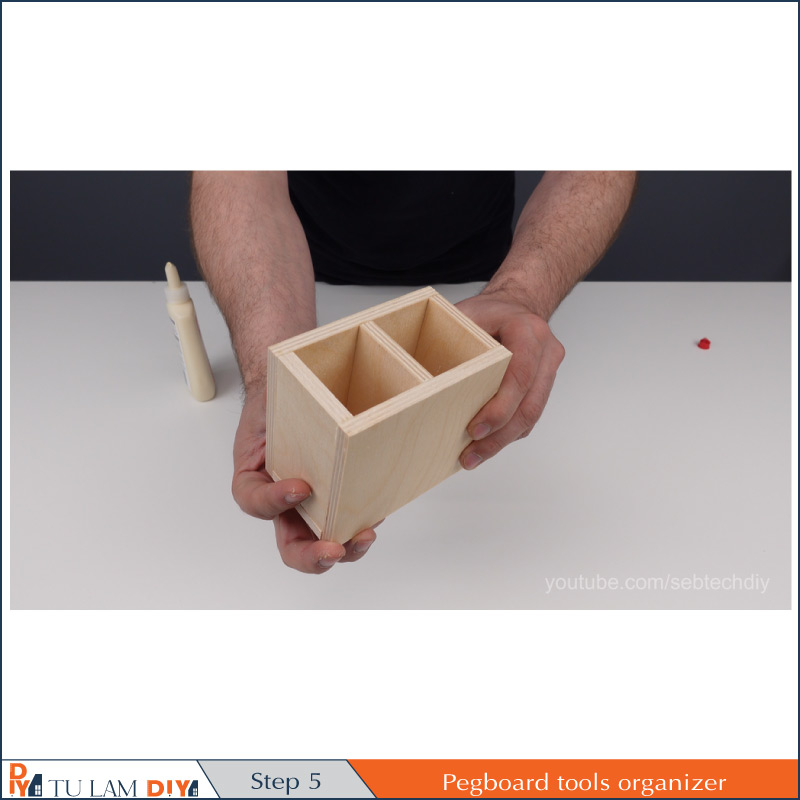
I made this organizer for pencils, markers, small tools etc , this one is 2 cases wide, but you can make a bigger one to suit your needs. It is another pretty simple organizer but a really useful one.
Step 6: Storage Bin
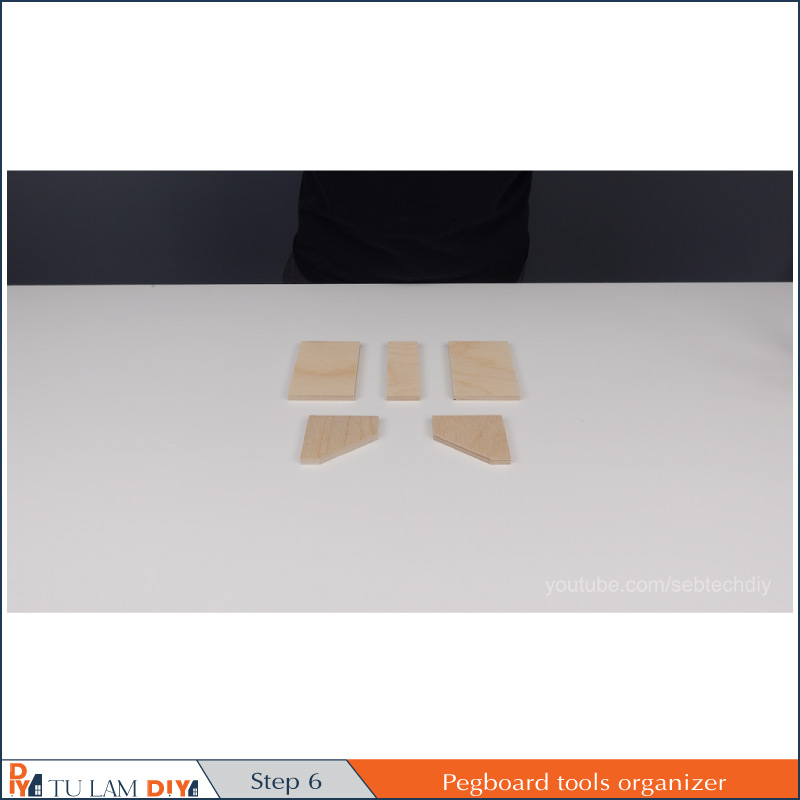
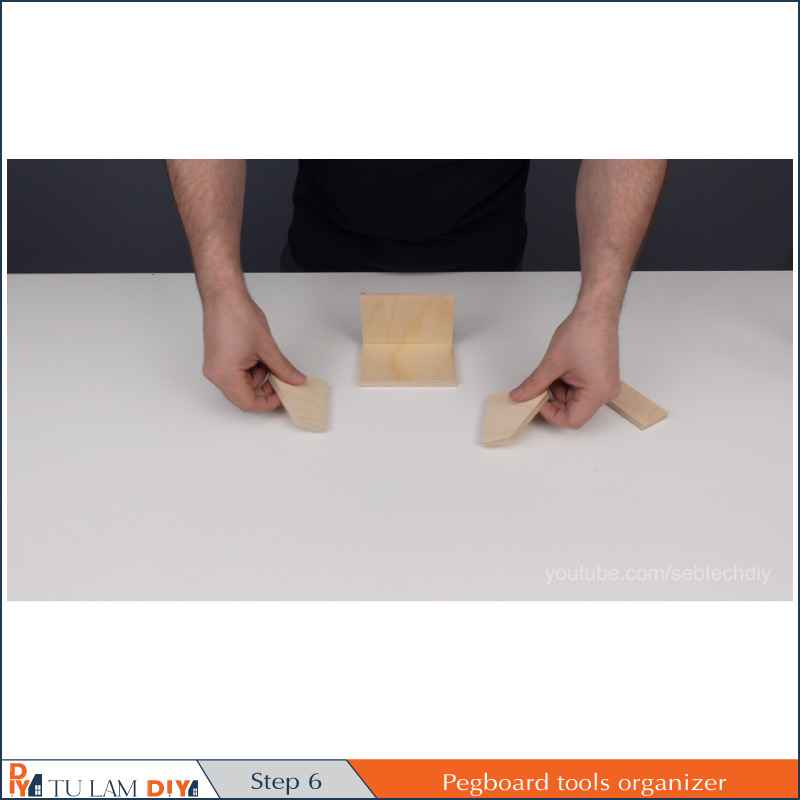


Oh, storage bin, and this one is not a cheap one. It is heavy duty, will never break like plastic ones.
Step 7: How to Hang Them on the Pegboard?
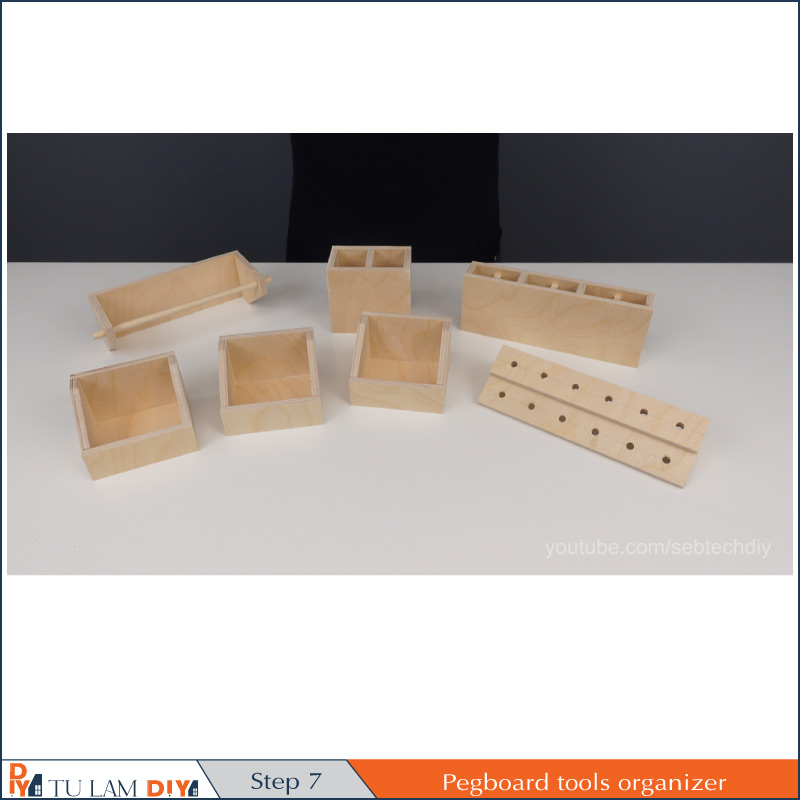
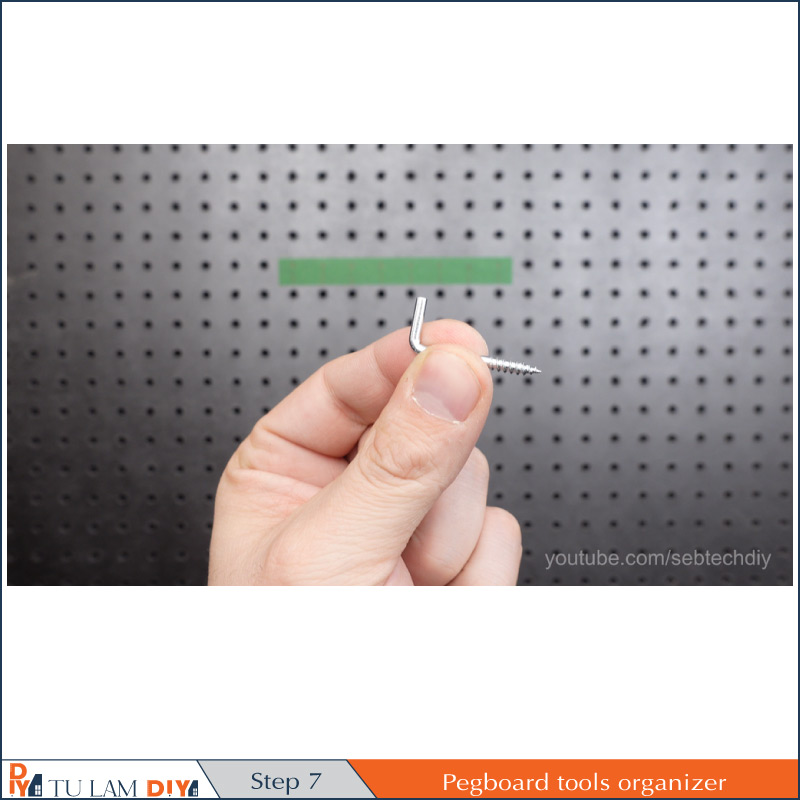


Now that all our custom organizers are made, we need to hang them to the pegboard. To do so, I am using some L-hooks that you can screw on the back of each organizers. Keep in mind that any organizers you will make, the sides of the organizer need to be at every one inches center to center. I can be 1 in wide to 12 inches wide if you want, but make sure all the sides are at every one inches or otherwise the L-hooks won’t be align with the holes on the pegboard. Now, if the distance between each holes of your pegboard is different than mine, modify accordingly to your dimensions.
Step 8: Installing the L-Hooks
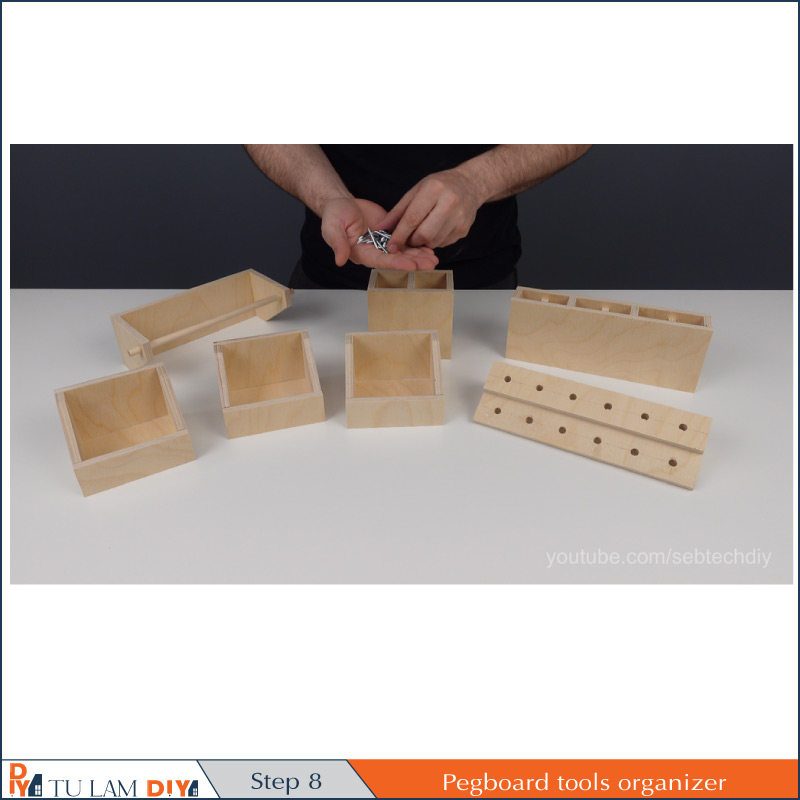


Before screwing the L-hooks in place, I drill some holes to make sure the wood don’t split. Holes are drilled 1/4” from the top of the organizers. I use my vicegrip to screw them in place, and the depth will depend on the thickness of your pegboard. Adjust it, try it, then adjust it again until the organizer are tight to the pegboard.
Step 9: Install Your Organizers on Your Pegboard


Now the fun part, hook them on your pegboard and get organized.
Step 10: Thanks for Watching


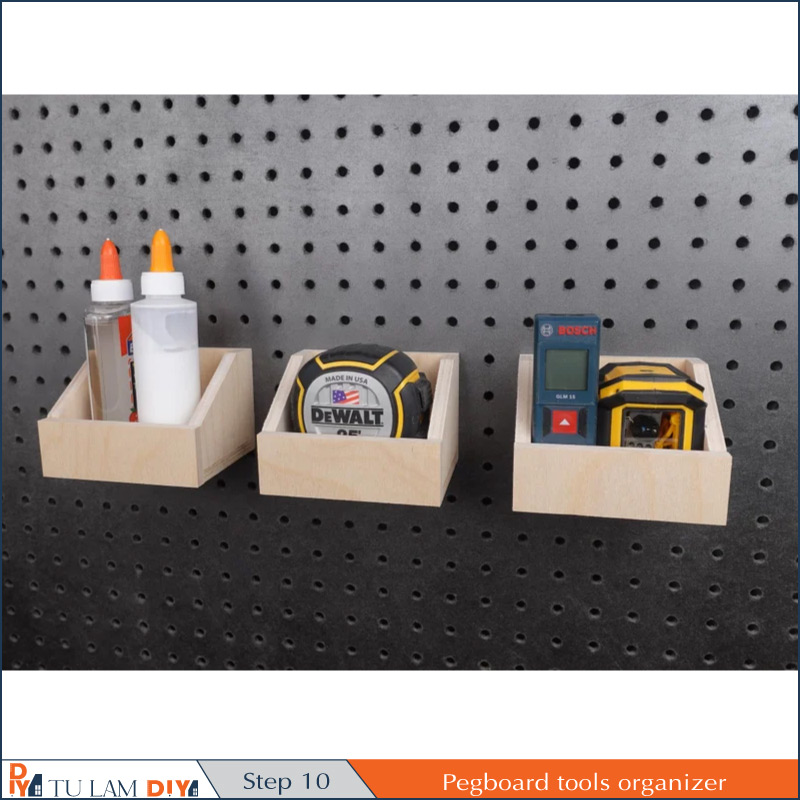
Thanks for watching my video and my instructable!
Make Pegboard tools organizer – Video
Hope you enjoyed this project and I hope it give you ideas to build your own custom pegboard tools organizer. After all, pegboard can be a good solution for tools storage.
See you next time!
References
- Instructables: Pegboard tools
- Word Mark: PEG-BOARD
- The Holey Rail
- What Is A Pegboard? And What Are The Benefits Of The Pegboard Training?”. Evo. 24 September 2018.


