
Learn how to build DIY garage with these tips to help you plan, build a solid foundation, frame and more. Using humble materials and simple techniques, you can put up any of these garage shelves and squash clutter in less than one weekend.

Here’s what you’ll need to make DIY Garage Storage Shelves:
- 2×4 boards
- 3/4” plywood panels
- Miter saw or hand saw
- 3” decking screws
- Wood glue
Reminders to make the DIY Garage Storage Shelves
Ensure the structure of your garage can handle the weight.
Although it may look like extra work, adding the cleats in will help ensure your boards are straight and leveled.
Step 1: Measure the Area for the Shelves

Measure the area where you want the shelves to be. For this tutorial, a 2×2 board will be placed on the wall. Take note, this will be the height of your shelf. Another 2×2 board will be placed on the ceiling to mark the distance of how long you want the shelf to extend from the wall.
Step 2: Cut the Wood into 2×2 Boards

Get your 2×4 boards and make a mark in the middle to get them to 2×2 measurements. Once you’ve done this, proceed to cutting with either a miter saw or a hand saw.
Step 3: Do Accurate Measuring Using the 2×2 Boards

Measure out how long you’d want your DIY garage storage shelves to be. To do this, you can simply hold the board against the wall to eyeball where it will be cut. Don’t forget to leave a small mark on the board to help you know where to cut.
Step 4: Cut The Boards Into Necessary Pieces
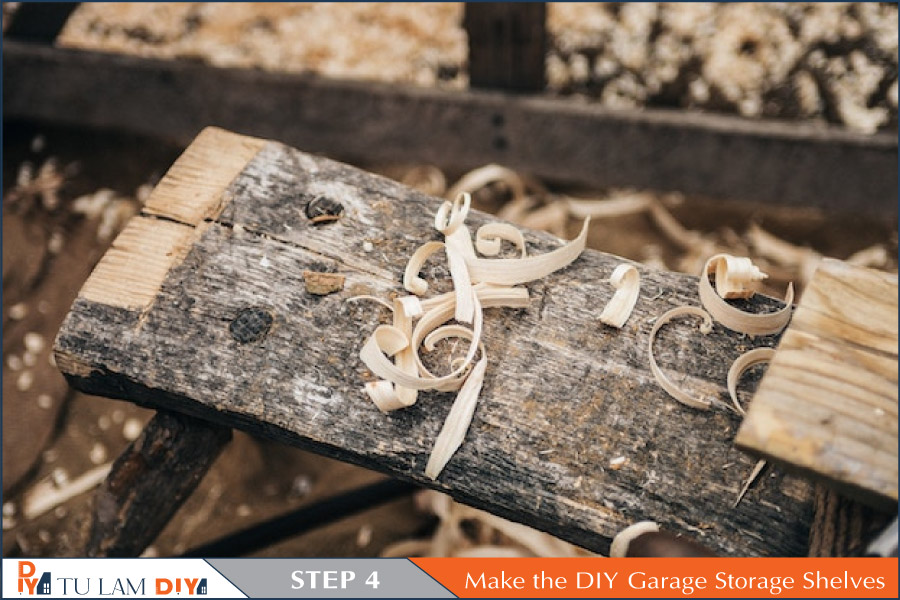
Once you’ve got the sizes of your shelves settled, go back to your handy miter saw or hand saw and cut the pieces according to the marks you’ve just placed in step 3.
Step 5: Place Cleats
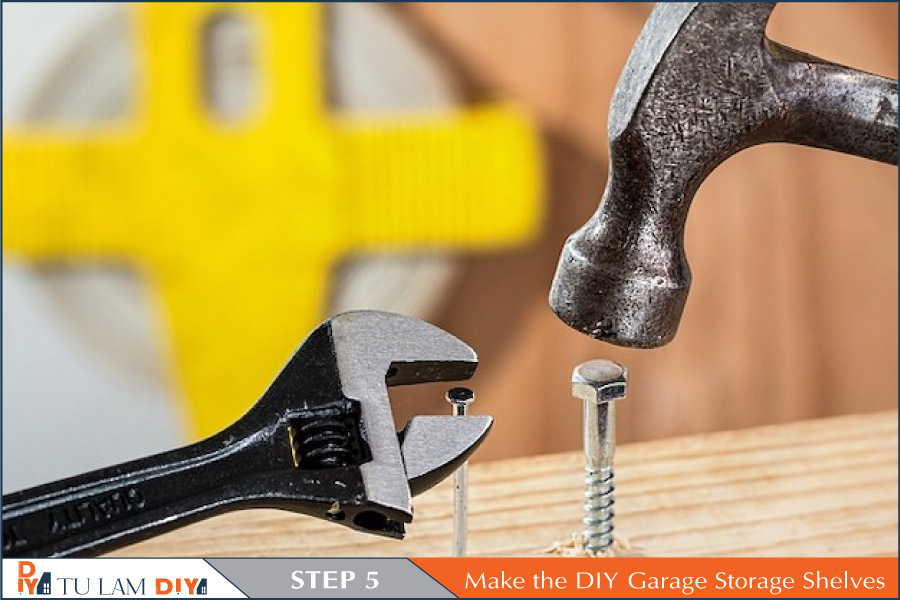
Having cleats up on the wall will make installing the shelves much easier. Simply cut a piece of scrap board and then cut out a notch at the end for the molding. Hold the cleats in place with 3” deck screws. Once you’re sure the screws have gone into every wall stud behind the drywall, remove the cleats.
Step 6: Install Ceiling Boards
It’s best to look for the appropriate joist first. Don’t forget to ensure the ceiling board is parallel with the back wall before driving the screws in.
Step 7: Prepare the Vertical Boards
Measure the distance from your ceiling board going down to where the bottom of the shelf will be. Once you’ve got the measurements, cut the boards accordingly and pre-drill the ends.
Step 8: Put The Vertical Boards
Since you’ve already pre-drilled the ends, attach the vertical boards to the 2×2 ceiling board with 2 3” decking screws and some wood glue.
“Tip: Drill 2 screws per connection”
Step 9: Attach The Floating Boards
Here’s a nifty trick to installing the floating board: Screw a scrap block onto one of the vertical boards as a pretend shelf. Proceed with attaching your floating boards and then remove the scrap board once done.
Step 10: Install Shelf Bottom
Cut your panels to size, then slide the shelf panel in. Prevent it from budging by drilling in some screws. Don’t worry, you won’t need to drill a lot of times. A handful of screws is enough.
And there you have it! You’re now a proud owner (and not to mention, builder) of your very own DIY garage storage shelves.
Dave likes keeping his toolboxes on these shelves. To be honest, we still have a lot of room left. We’ve only occupied two shelves so far.
We sure hope these DIY garage storage shelves inspired you to make the most out of your ceiling space. I know I sound like a broken record, but these overhead compartments are lifesavers for organizing, I swear.
Website References
- Do It Yourself
- DIY Network
- DIY Projects
- The Spruce – Garage Blog
- Garage in Wikipedia
