
Những chiếc nơ rất dễ làm, chúng có thể được sử dụng để quấn gói, trang trí tóc, quấn quanh váy để tôn vòng eo và tạo điểm nhấn cho những hộp quà mới nhất của bạn. Nếu bạn biết cách cột nơ rút một cách đơn giản theo riêng bạn sẽ là một kỹ năng hữu ích mà bạn sẽ sử dụng mọi lúc. Nếu chưa có kỹ năng này, bạn cũng có thể xem hướng dẫn của TULAMDIY về cách thắt nơ rút từ ruy băng có dây tại đây. Chúng sẽ rất lý tưởng cho việc trang trí và gói quà.
Hướng dẫn tự làm:
Những thứ bạn cần chuẩn bị để thực hiện:
- Ribbon! Any kind will do. (this tutorial shows a satin ribbon)
- Here’s a quick guide to some of the many ribbons you will find at a craft store:
- Wire ribbon will hold its shape and allows you to create bows with lots of volume
- Satin ribbon is a smooth fabric ribbon, use this for a classic result
- Acetate ribbon has a plastic feel, often used in packaging
- Curling ribbon a crimped ribbon that will curl when pulled over a sharp edge
- Scissors to cut the ribbon
- Your hands,, of course ^_^
Cách cột nơ rút đơn giản từ ruy băng
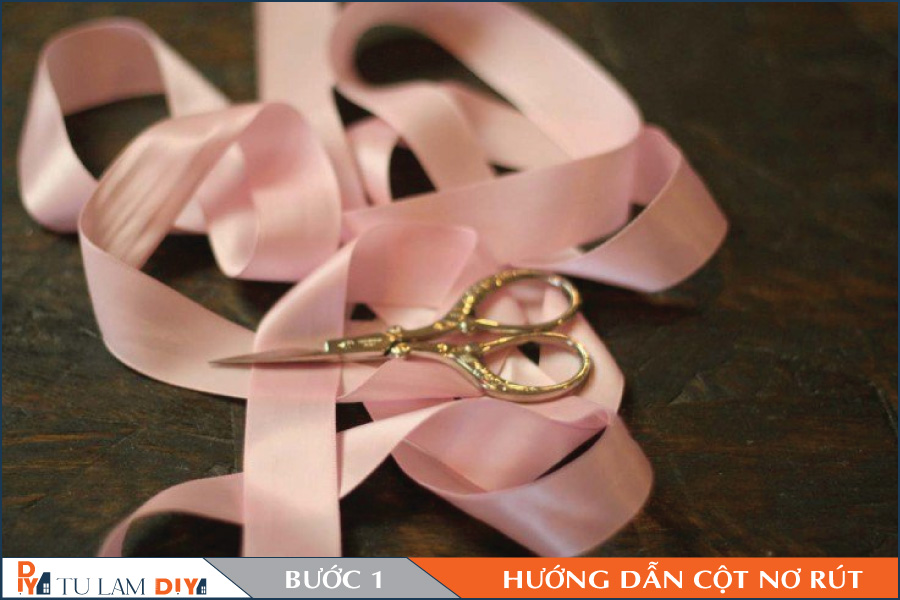
Bước 1 (Step 1): Cut ribbon
Cut out a lot of ribbon, always give yourself plenty to work with. For a large bow I would cut out a yard, for a smaller bow 18″ will do. Think about the size of the ribbon you want to work with. If it is thin you will need less, if it is wide you will need more. You want your bow to look proportional to the size of ribbon being used.
Bước 2 (Step 2): Loop ribbon
Form a loop with your ribbon, keep your left thumb over where the ribbon crosses. The ribbon in your right hand should be behind (underneath) the loop.

Bước 3 (Step 3): Bring ribbon over
Bring the ribbon in your right hand over the front of the loop, and around to the back.


Bước 4 (Step 4): Push ribbon through opening
When you have brought the ribbon in your right hand around the other loop and it is in the front again, use your index finger to push it through the opening you just created in the front. Keep the ribbon folded under as pictured, this will be your second loop to form the bow.

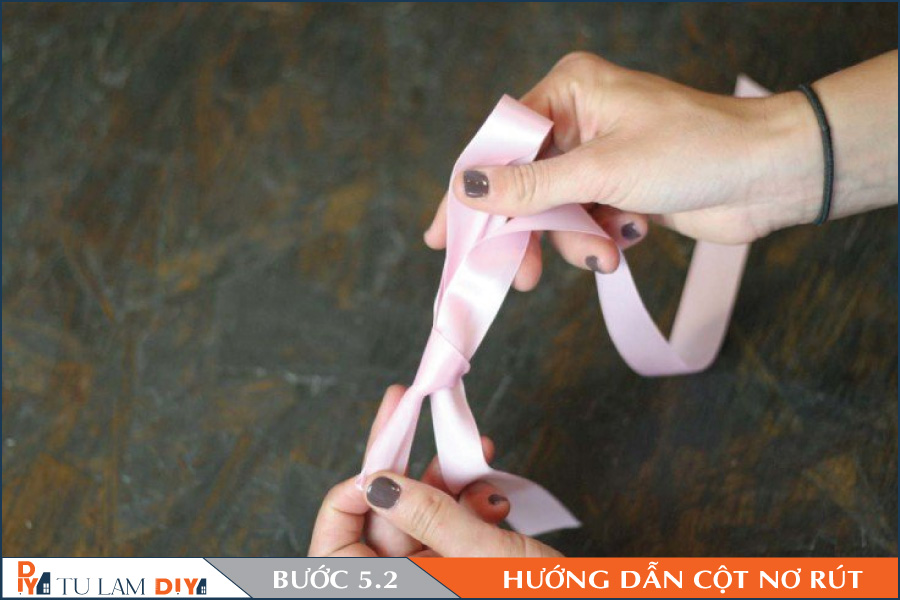
Bước 5 (Step 5): Pull ribbon through front to make bow
Pull this new loop tight. Your ribbon should now resemble a basic bow.

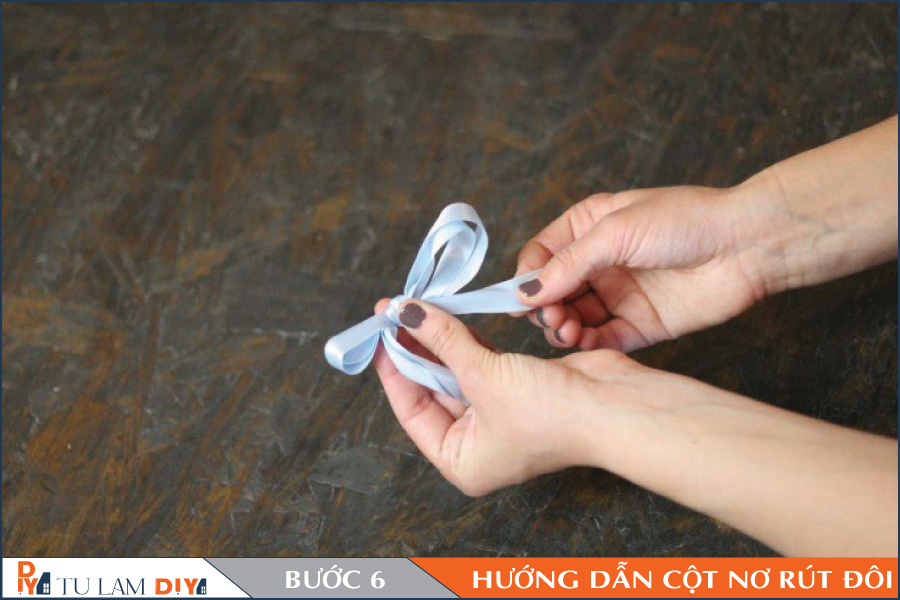
Bước 6 (Step 6): Adjust bow
Pull at the loops and the tails until you are happy with the shape of your bow.

Bước 7 (Step 7): Clip tail of bow
Clip the ends of the bow with your scissors to create a sharp angled edge..

Now you can make your own perfect ribbon bows every single time!
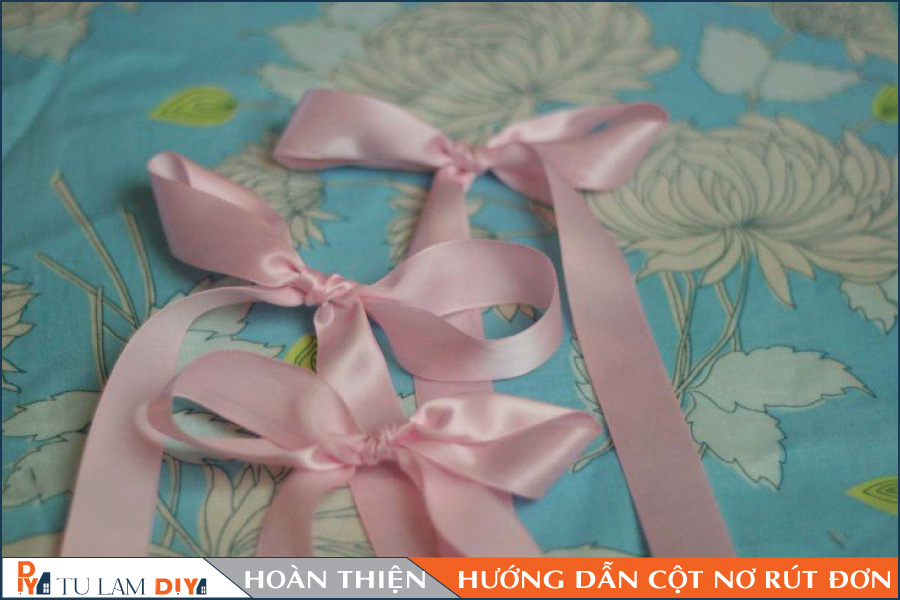
Go ahead and experiement with different types of ribbon, different colors, different sizes, etc. Here is a quick tutorial to make a bow using two layers of ribbon instead of just one.
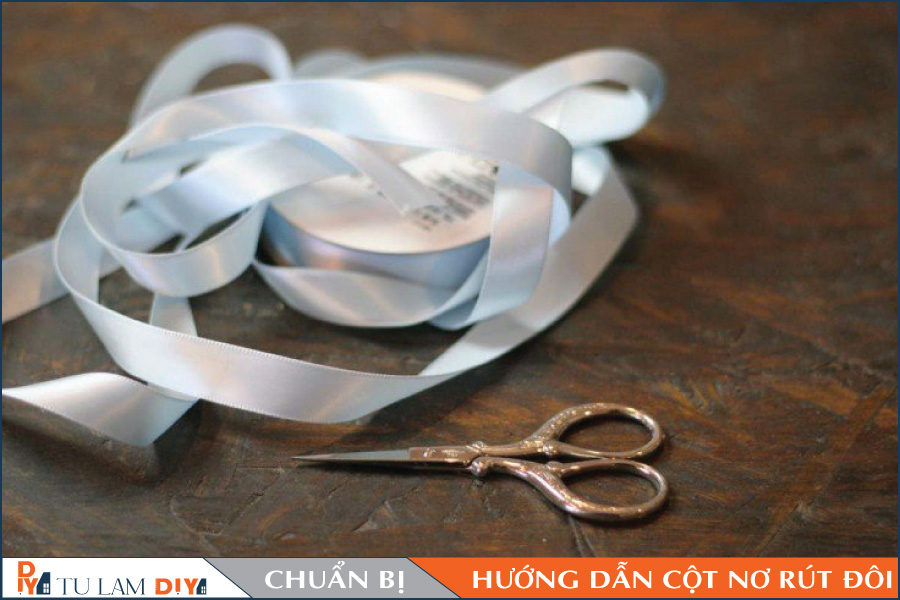
Cách cột nơ rút đôi giản từ ruy băng
To make a double bow, perform the same steps as the single bow, but this time with 2 pieces of ribbon. Use this technique for a fuller looking bow. You can also add more color and dimension based on your choice of ribbon.
Measure out the amount of ribbon you would typically use for the single bow, but now double it over itself.
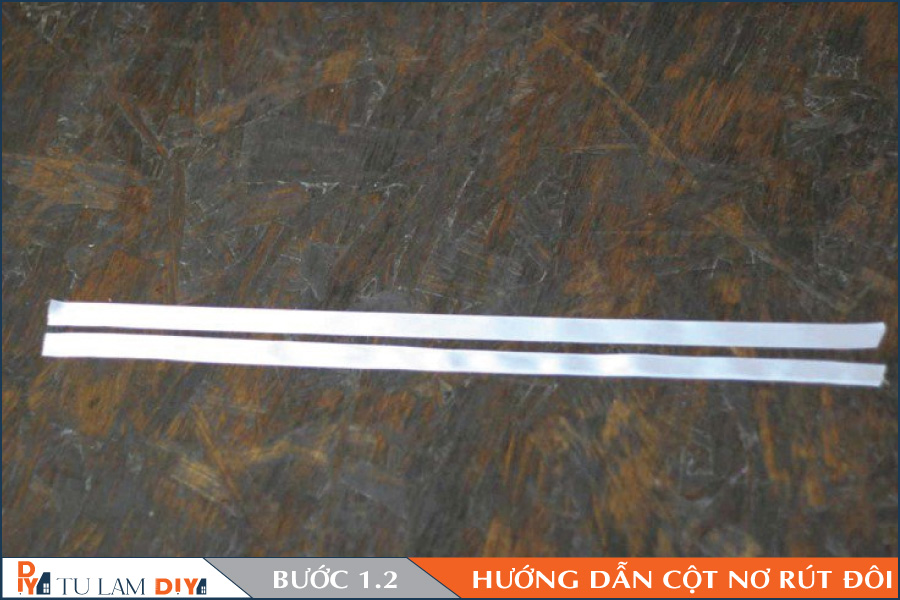
Bước 1 (Step 1) Cut the ribbon in half
Once you have the desired amount of ribbon, fold it in half and cut it in the middle. Now you have two pieces of ribbon to work with.

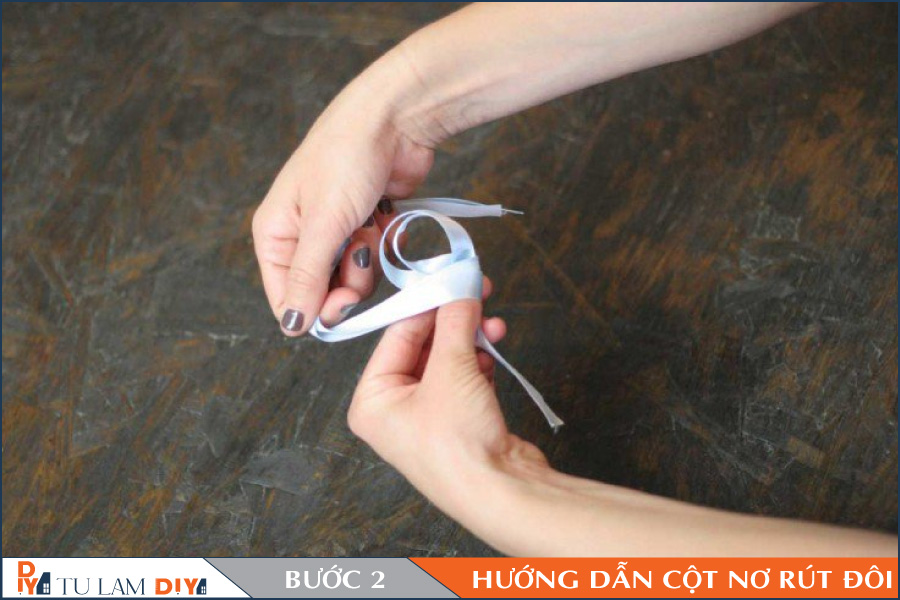
Bước 2 (Step 2): Loop ribbon
Just like we did with the single room, begin by forming a loop with your ribbon, keep your left thumb over where the ribbon crosses. The ribbon in your right hand should fall behind the loop.

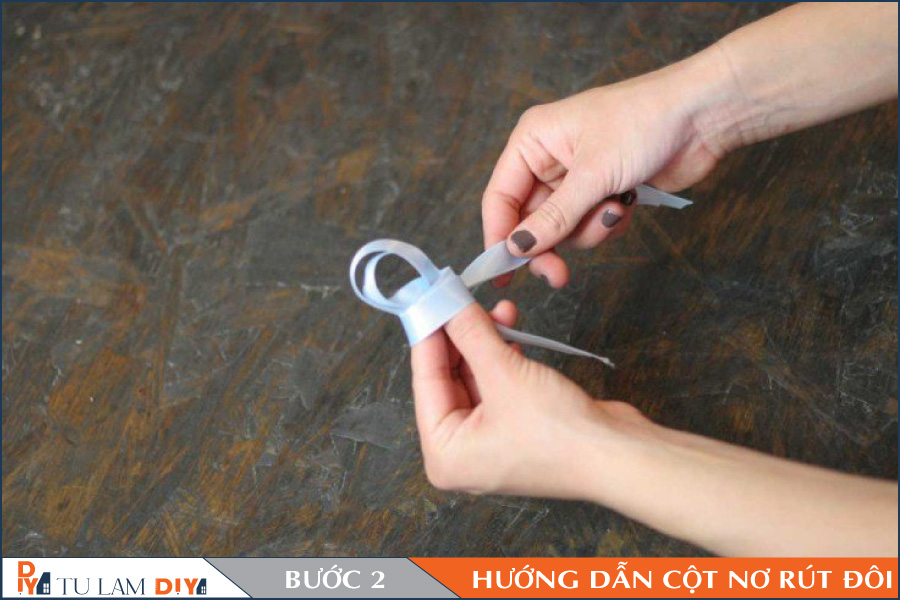
Bước 3 (Step 3): Bring ribbon over
the ribbon in your right hand over the front of the loop, and around to the back.

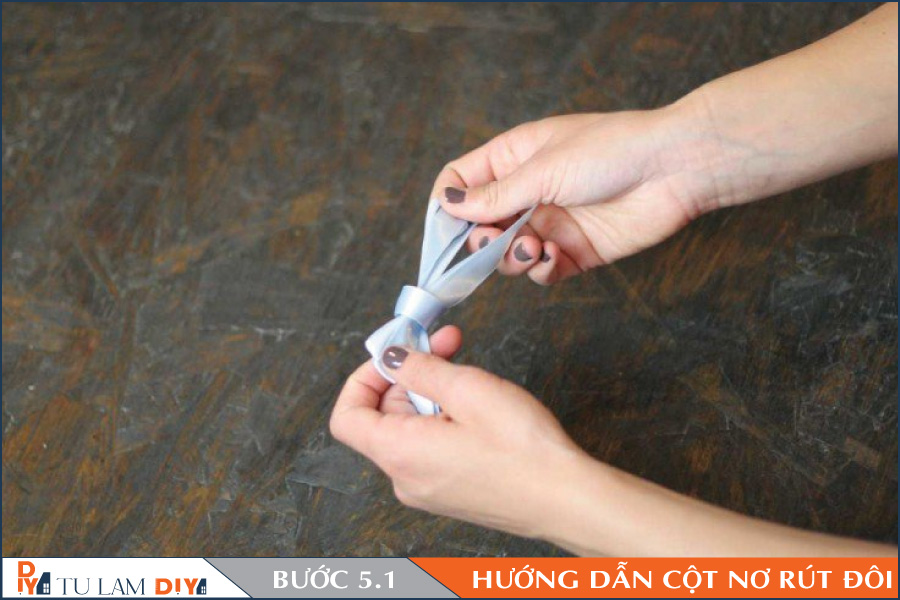
Bước 4 (Step 4): Push ribbon through opening to form bow
When you have brought the ribbon in your right hand around the other loop and it is in the front again, use your index finger to push it through the opening you just created in the front. Keep the ribbon folded under as pictured, this will be your second loop to form the bow.

Bước 5 (Step 5): Pull ribbon through front
Pull this new loop tight. Your ribbon should now resemble a basic bow.

Bước 6 (Step 6): Adjust bow
Pull at the loops and the tails until you are happy with the shape of your bow. Make sure you like the way both layers of ribbon fall. Maybe you want one to stick out more?
Bước 7 (Step 7): Clip tail of bow
Clip your bow’s tail with the scissors. Cut the ends at an angle, this creates a crisp finish and prevents any loose fibers from unraveling.

Enjoy the simple art of tying bows, and all the new variety they will bring to your life!
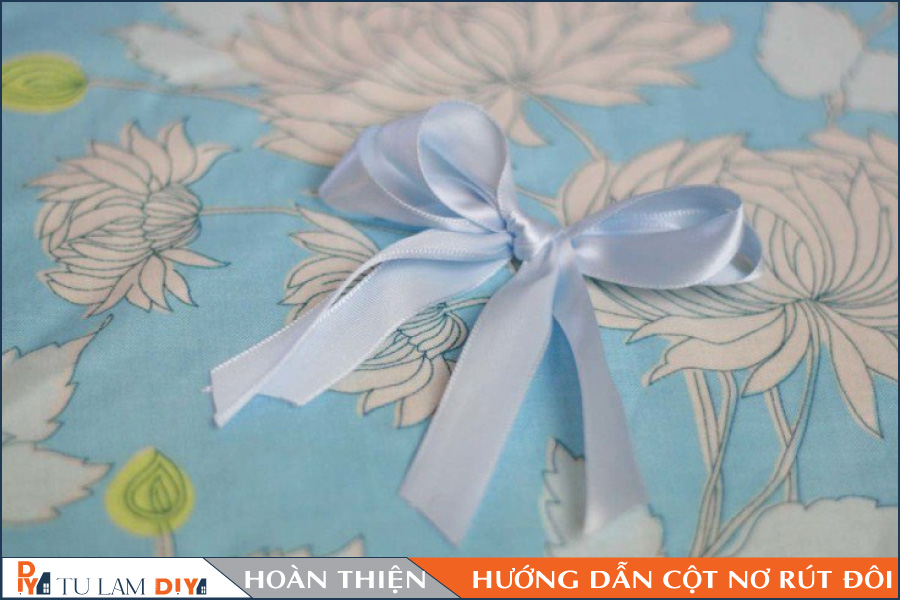
Hy vọng với những kiểu cột nơ rút này không những làm cho hộp quà của bạn trông độc đáo hơn mà còn giúp cố định phần giấy gói quà, mang đến cho người nhận cảm giác tò mò với món quà mà bạn dành tặng cho họ.
Chúc các bạn thành công!
